Gorgeous, affordable gold plated rings are the perfect way to experiment and stack rings to your heart's content – especially when crafted with quality plating over durable base metals, designed to let you enjoy the trend beautifully.
But how to stack rings in a way that looks effortlessly chic rather than accidentally chaotic? It's an art form, but one that's surprisingly easy and fun to master. Here at Kaleya Studio, we adore seeing how our customers create their unique stacking ring combinations, and we're here to guide you through the process.
Why We're Obsessed with Ring Stacking
What makes piling on the rings so appealing? It's more than just decoration; it's a mini-masterpiece on your fingers that offers endless possibilities for self-expression:
- Ultimate Personalisation: Mix symbols, birthstones, simple bands – your stack tells your story in a way that feels authentically you.
- Everyday Glamour: Instantly elevates even the simplest outfit, adding a touch of polish and detail. This is smart fashion ring styling that works from coffee runs to client meetings.
- Versatility Rules: Change your stack with your mood! Go delicate one day, bold the next. Swap rings between fingers for endless combinations.
- Texture & Detail: Stacking adds dimension and tactile interest that a single ring often can't achieve alone.
- Timelessly Trendy: It's a trend that's here to stay, constantly evolving. Perfect for showcasing curated details, a key vibe for contemporary style.
The Fundamentals of Flawless Ring Stacking: Key Principles
Ready to become a stacking pro? Keep these core principles in mind as you build your perfect ring combinations:
1. Play with Textures & Finishes
This is where the magic happens! Avoid all your rings looking the same. The interplay of different surfaces creates visual depth and prevents monotony:
- Smooth, polished bands with twisted, beaded, hammered, or engraved designs
- Maybe even a brushed or matte finish next to a high-shine piece
- This contrast creates visual depth and stops the stack from looking one-dimensional
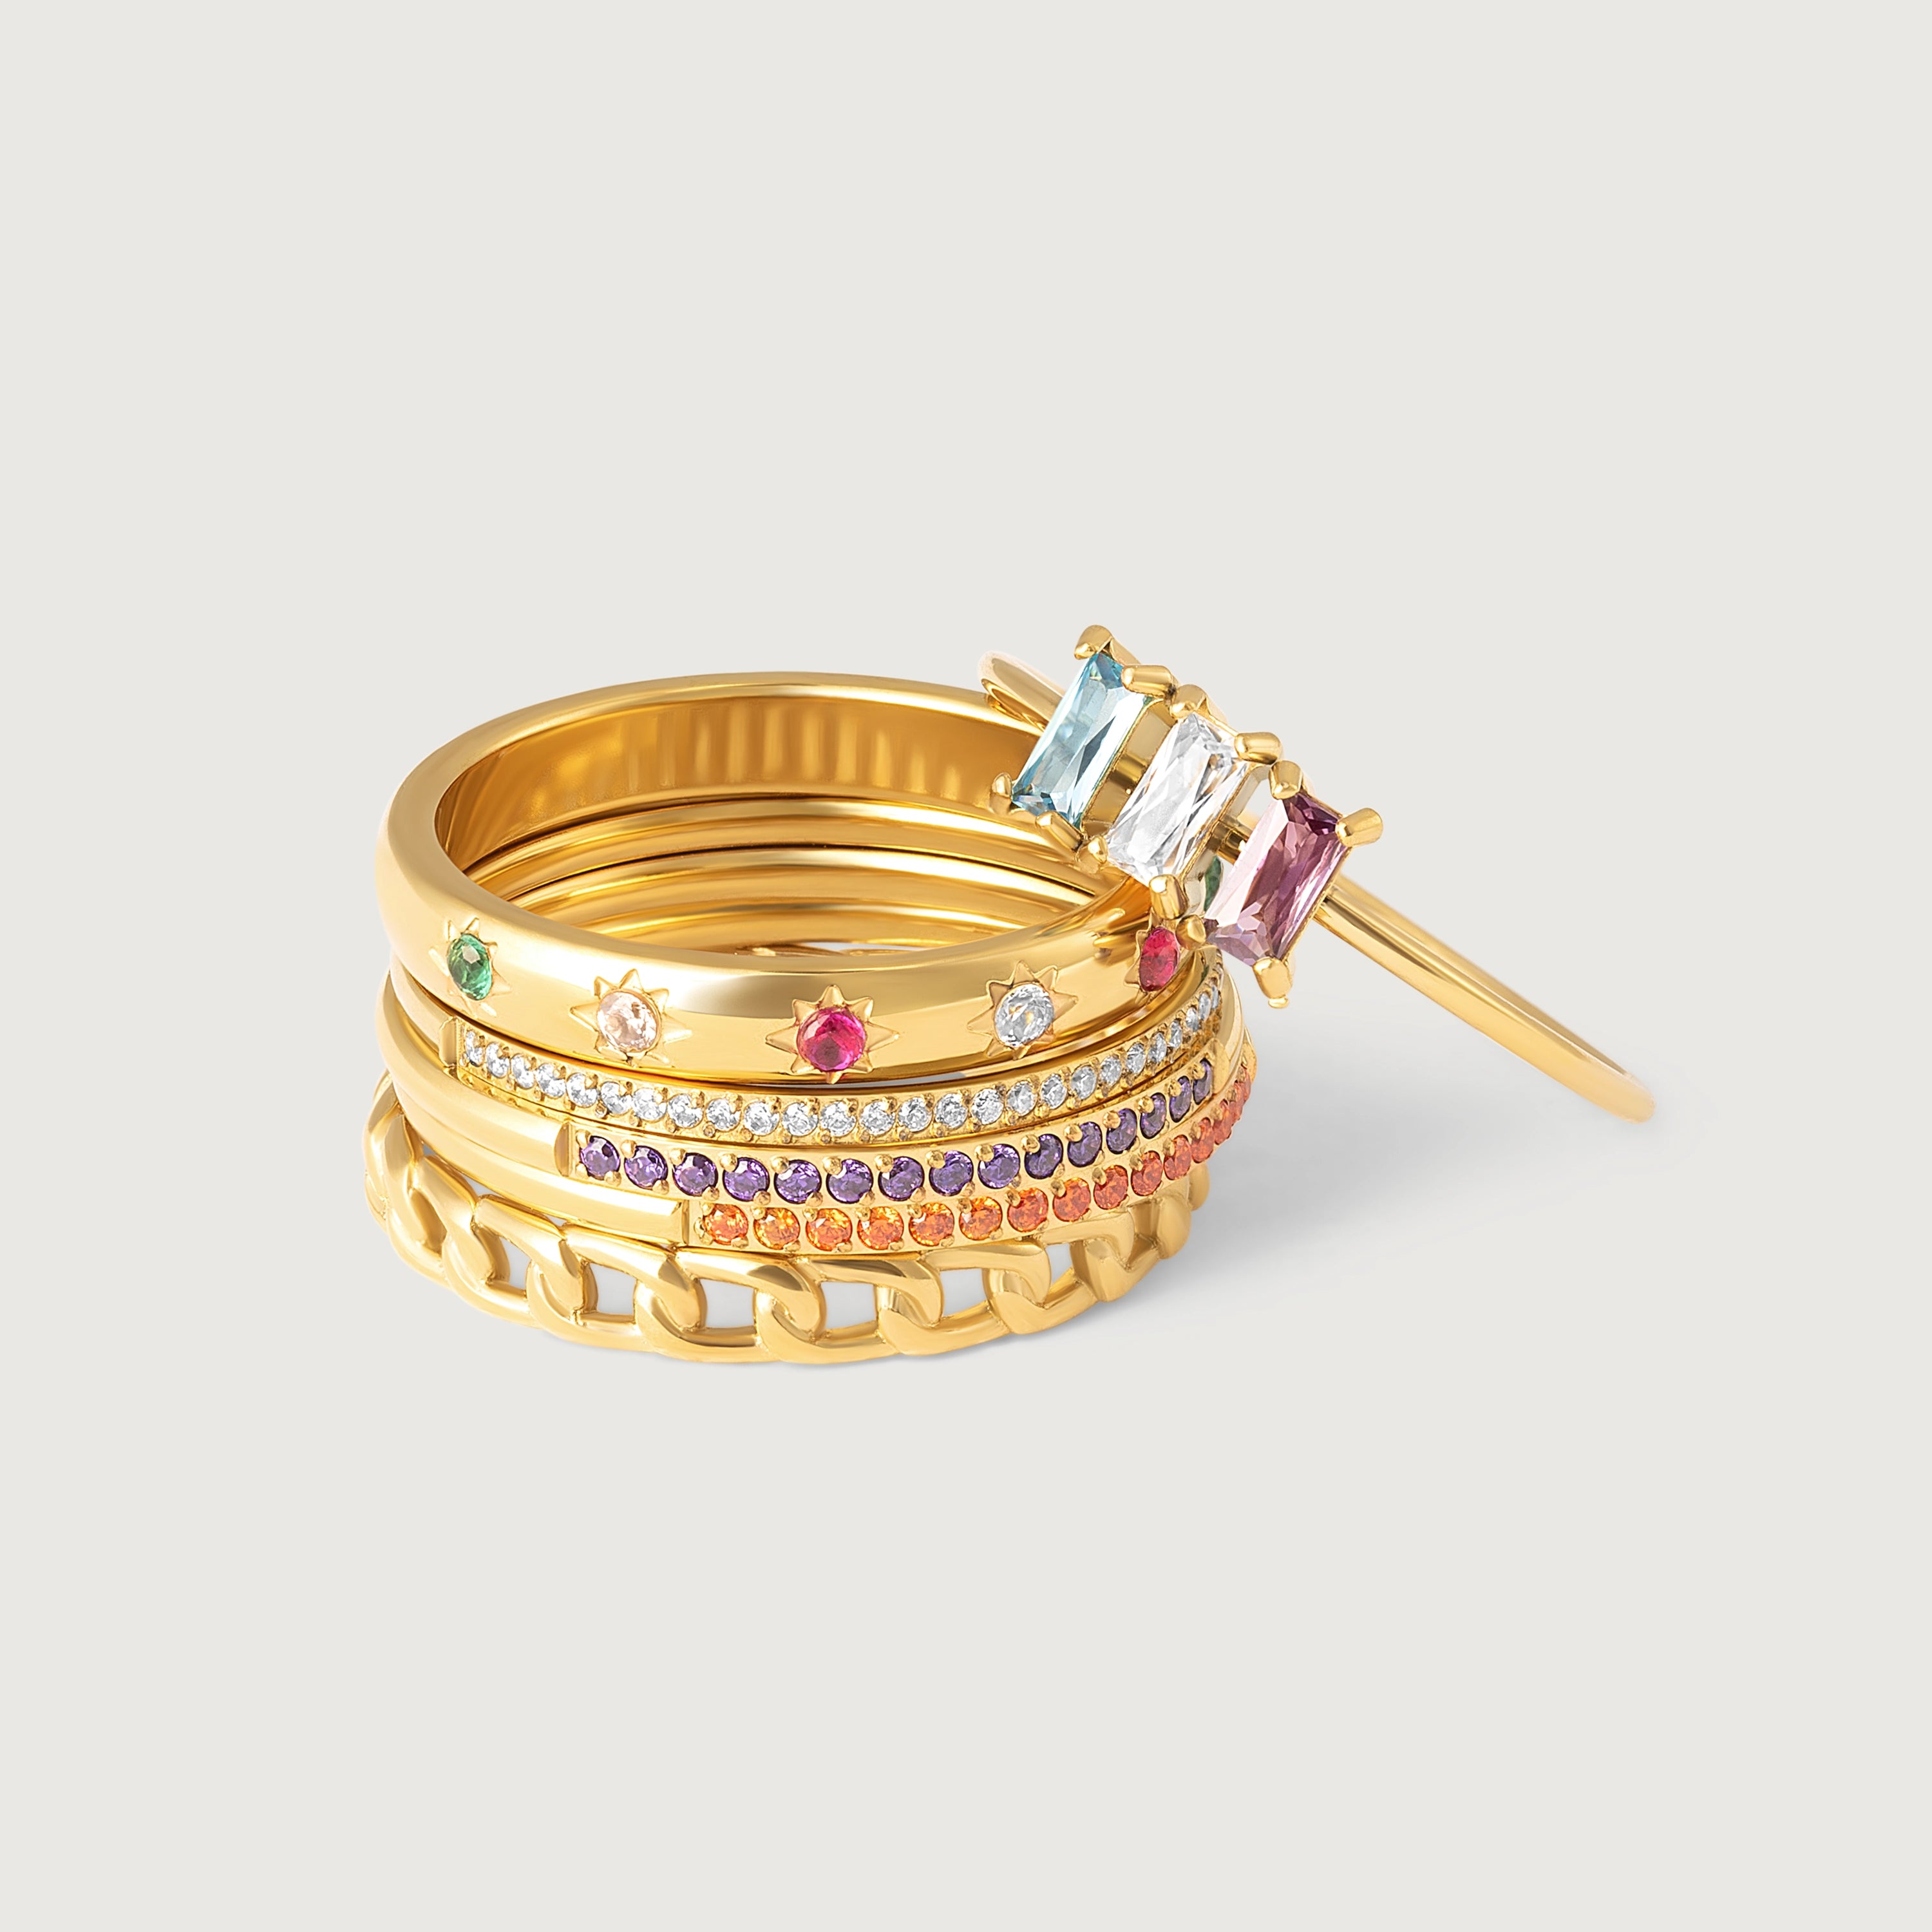
2. Vary the Weights & Widths
A stack composed entirely of identical thin bands can work for a super minimalist look, but generally, varying the width adds more visual interest and sophistication:
- Mix dainty gold rings with slightly wider bands or one focal statement ring
- A chunkier signet ring looks great balanced by more delicate companions
- The key is contrast and balance – avoid all rings being the same thickness
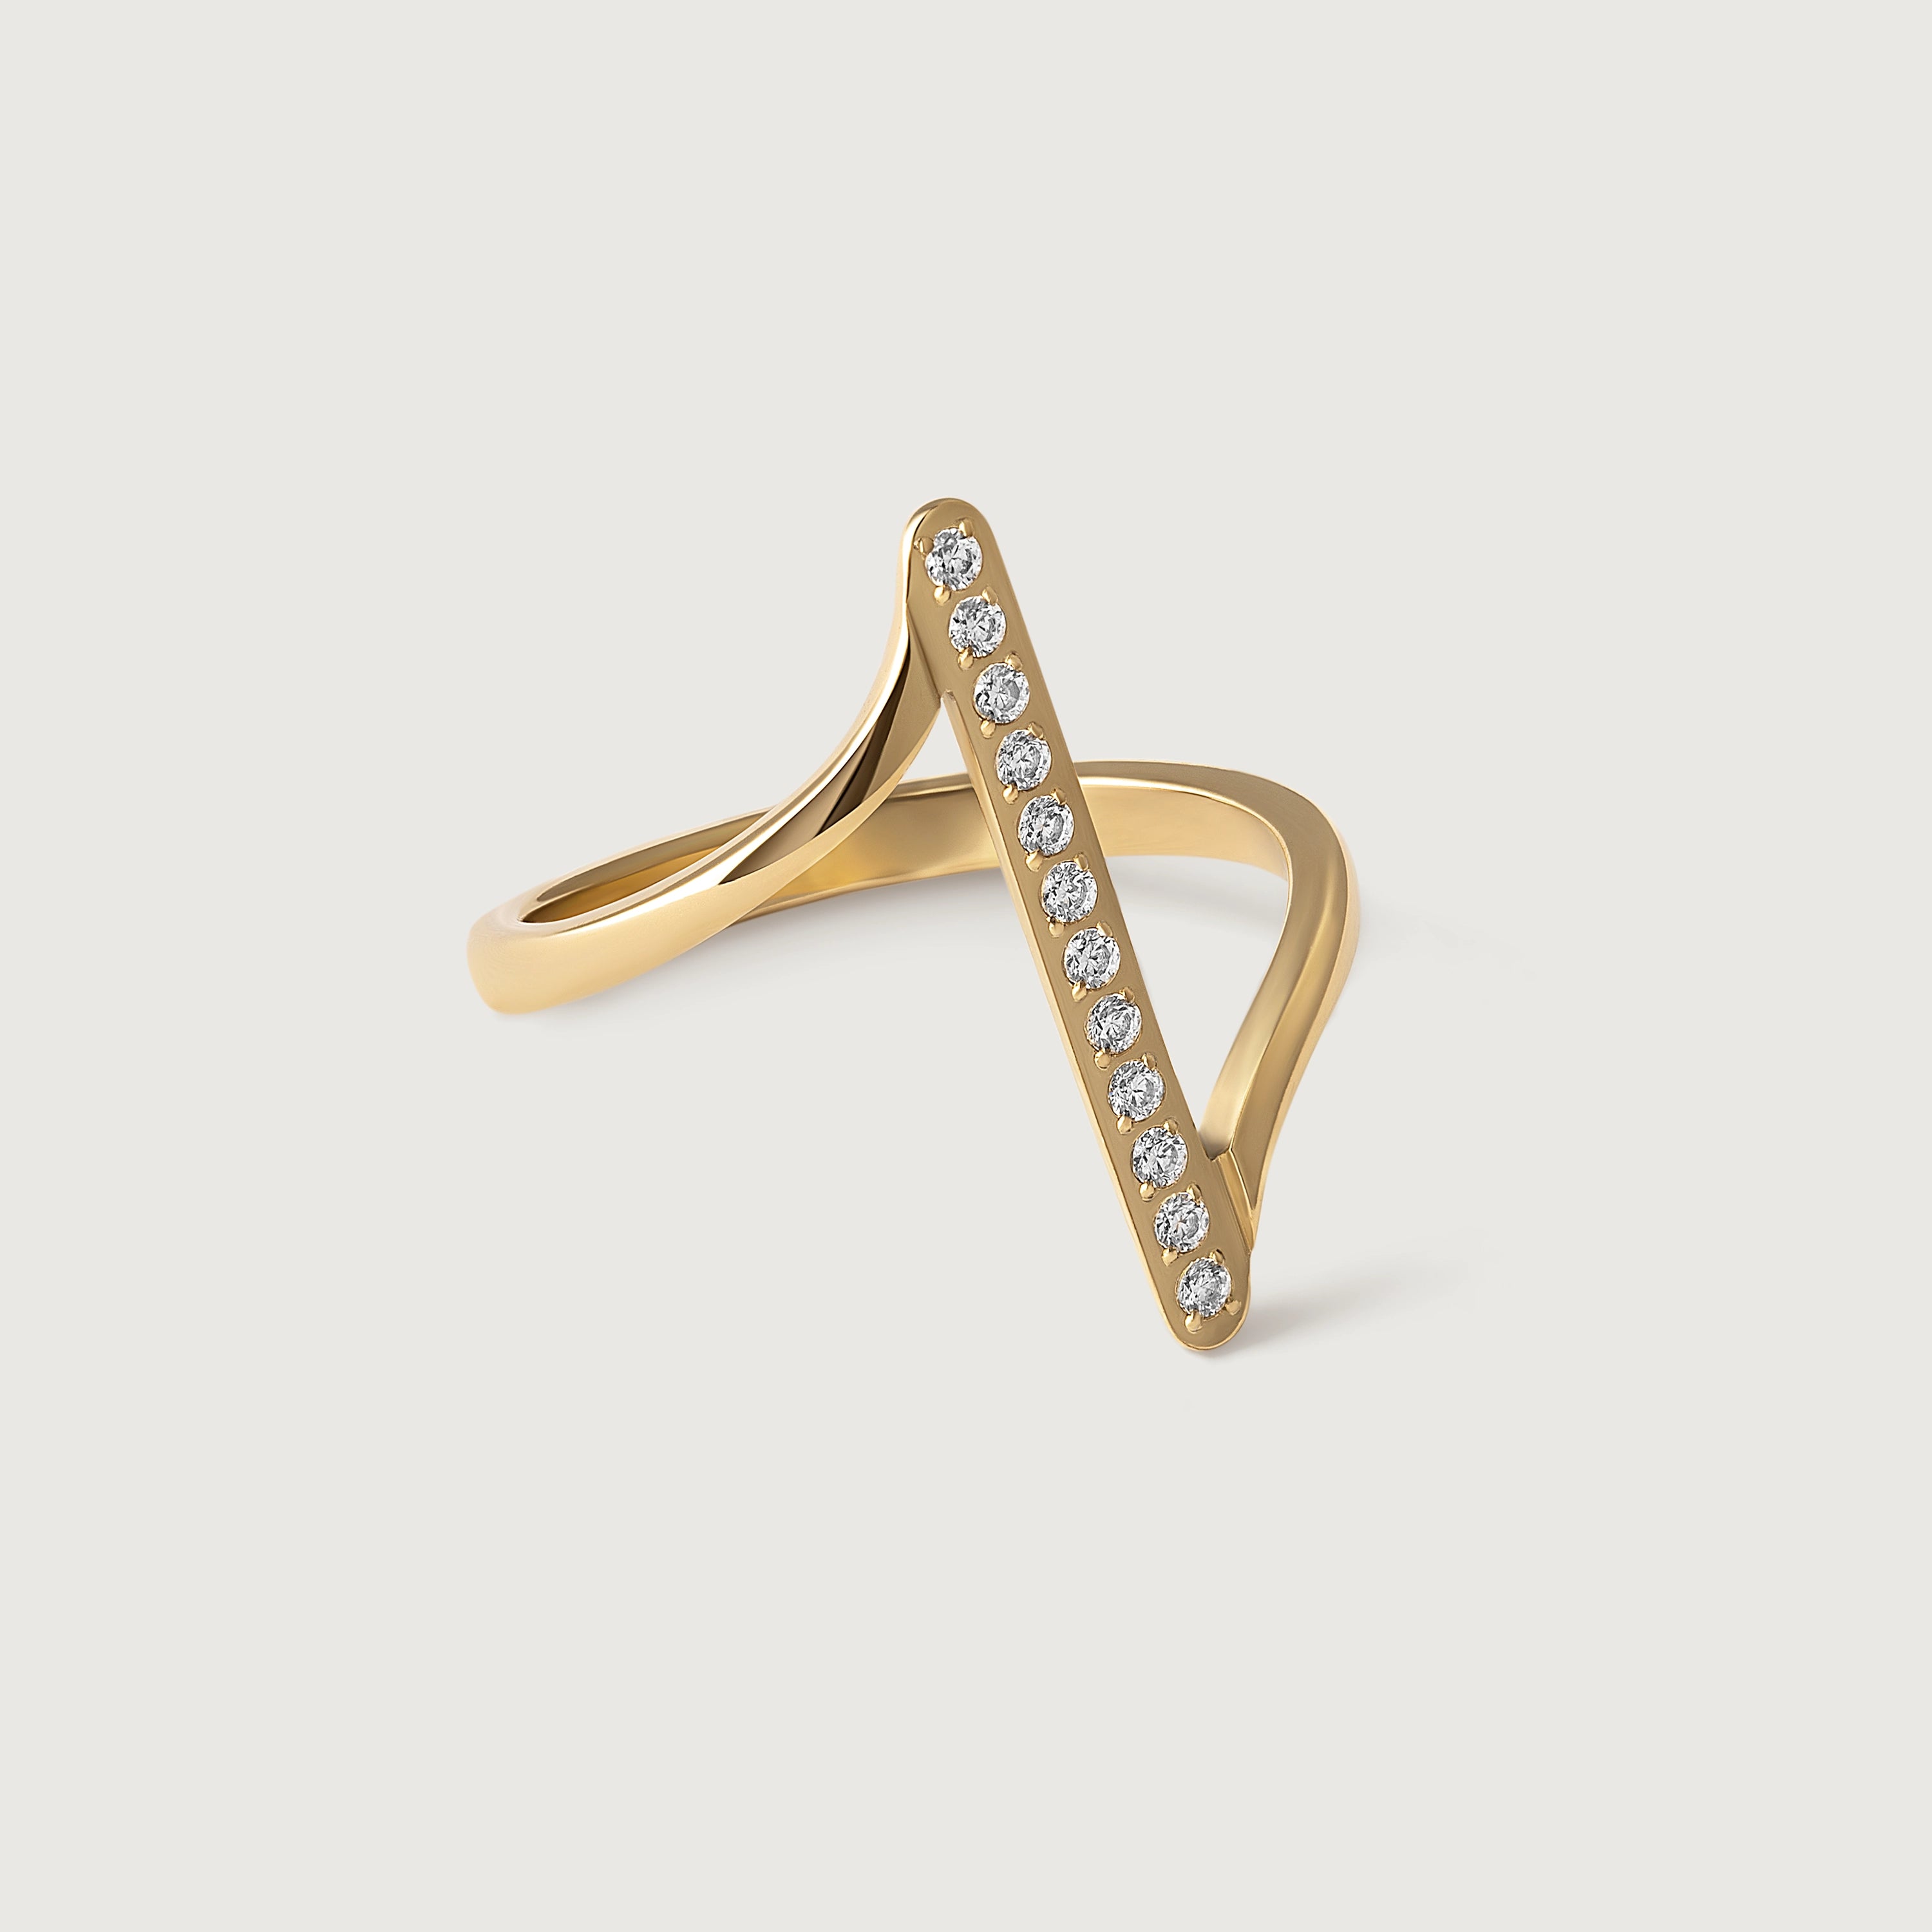
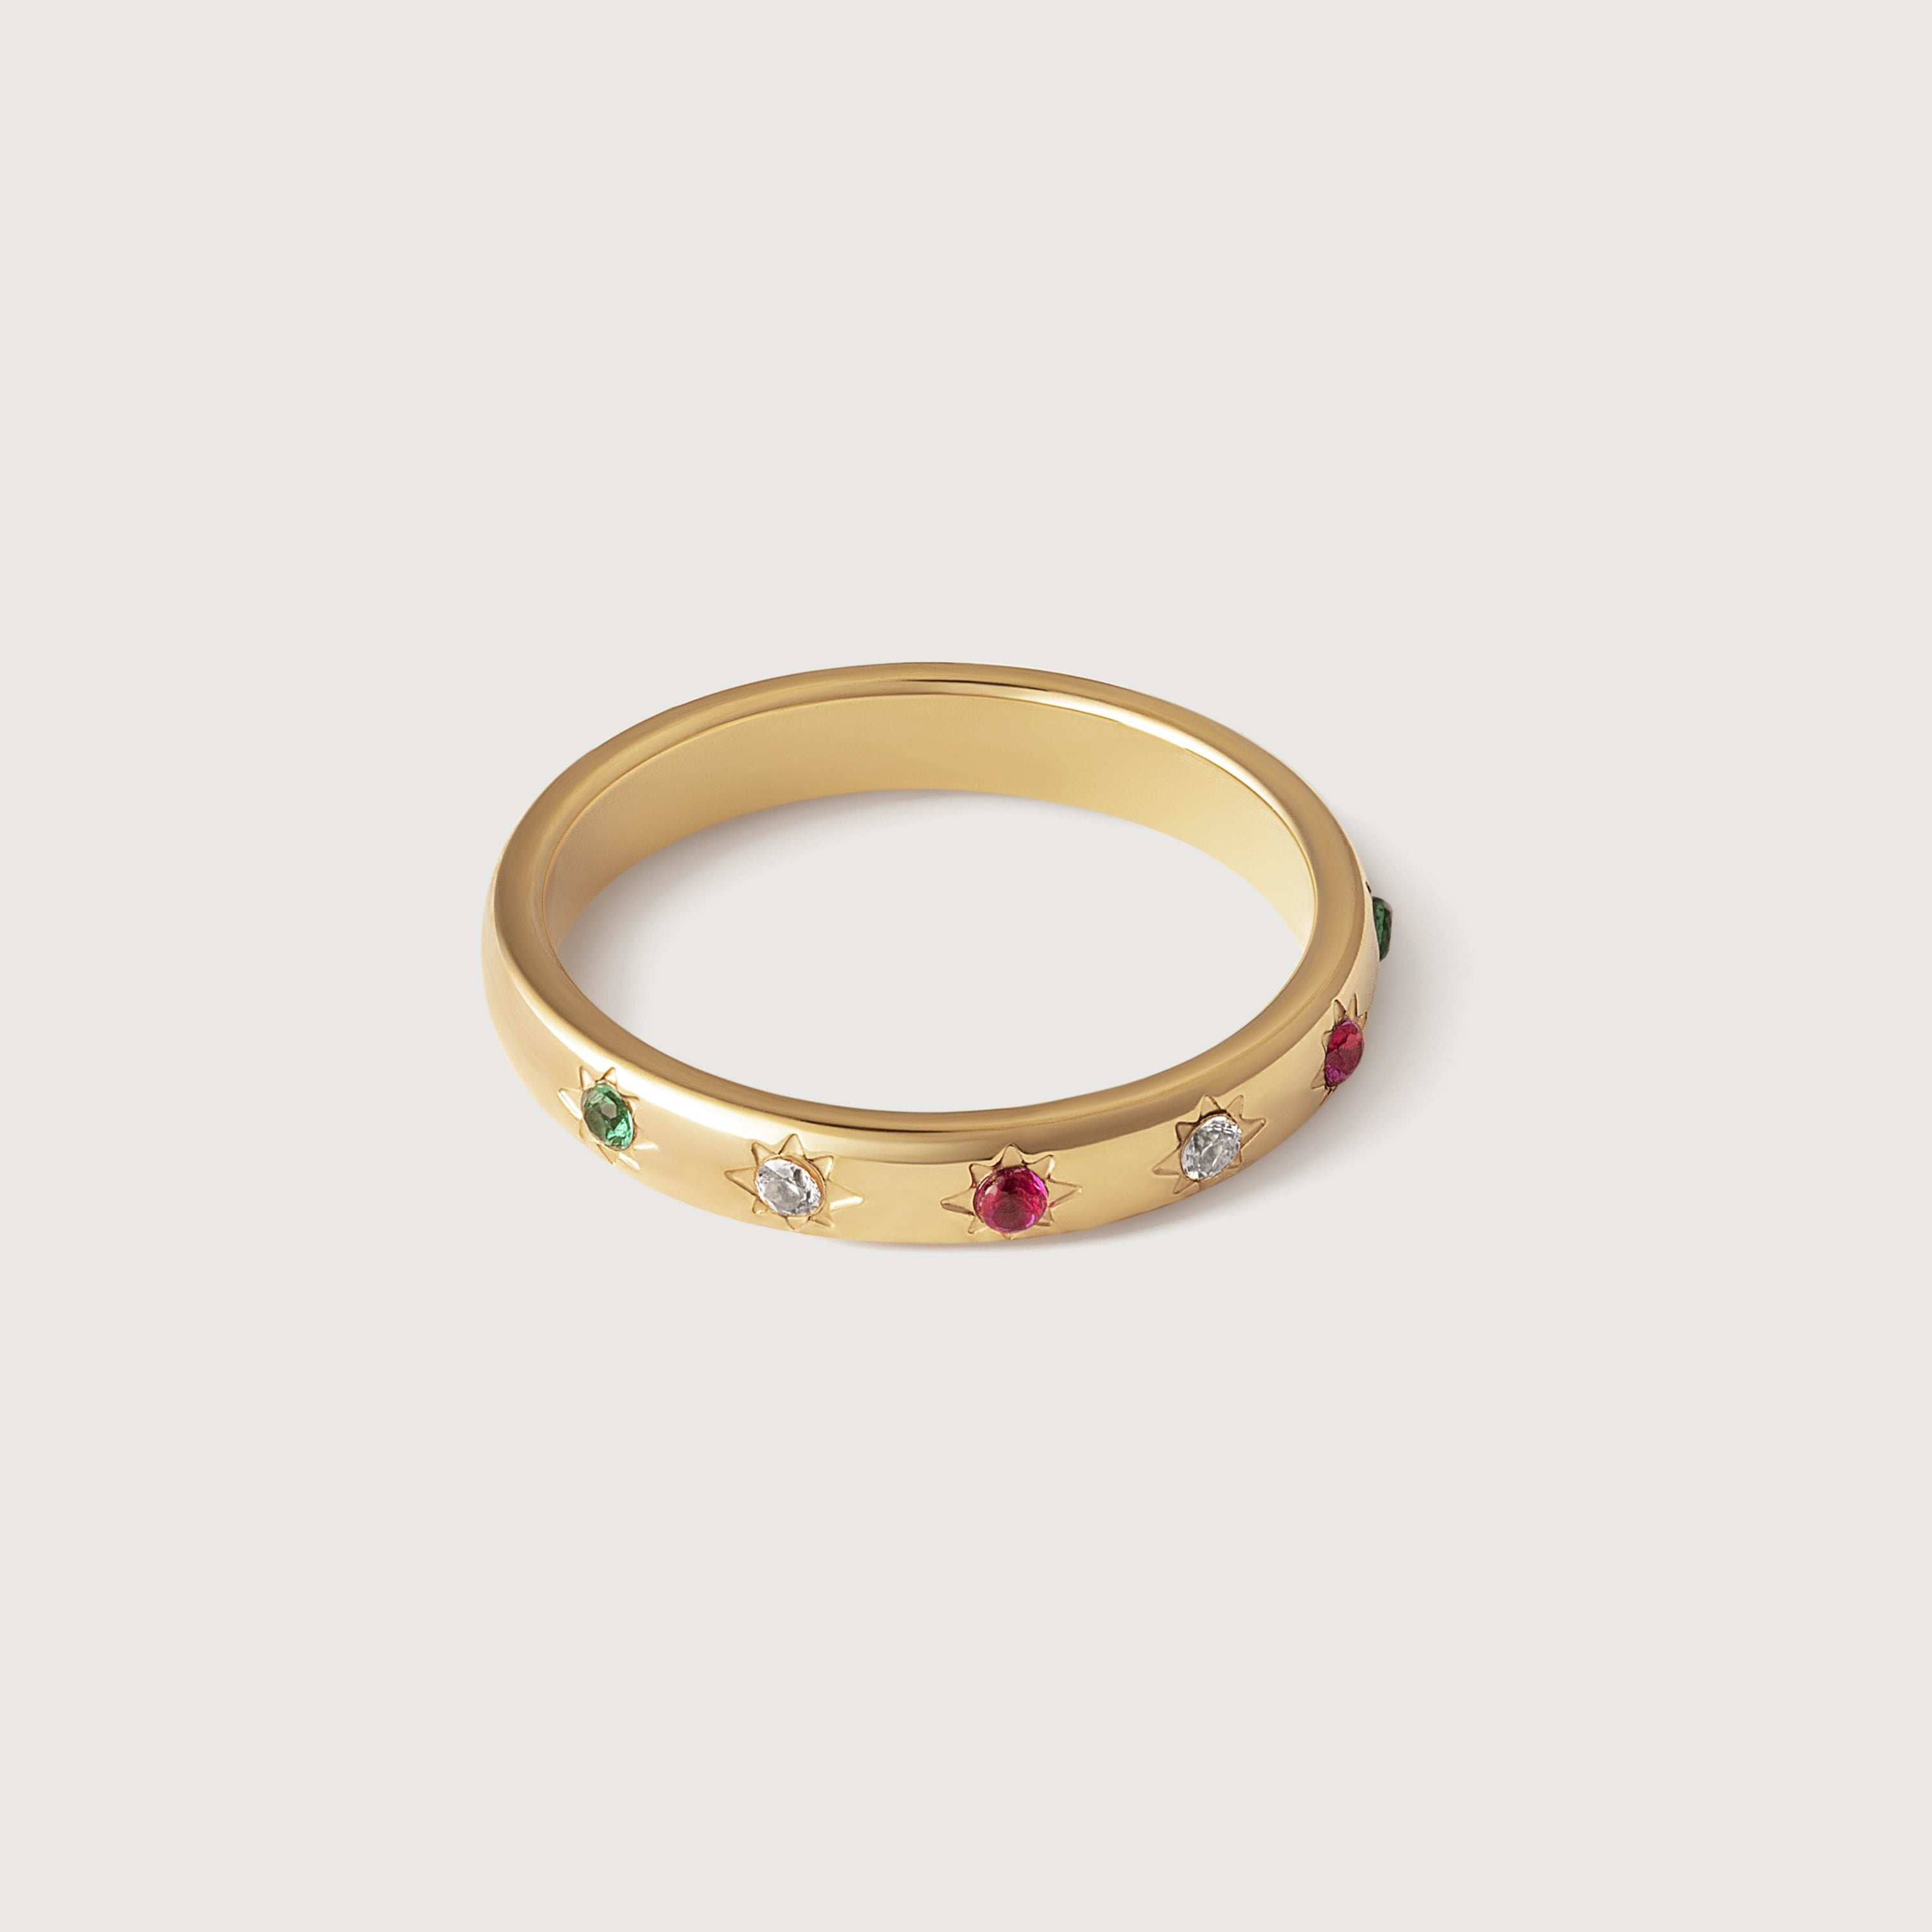
3. Introduce Stones & Shapes
Adding gemstone rings or rings with unique shapes like chevrons, crowns, or geometric designs brings personality and visual focal points to your stack:
- Balance Size: A large stone might overpower very delicate bands right next to it. Consider scale and proportion carefully.
- Colour Play: Coordinate gemstone colours for a harmonious look, or choose one contrasting pop of colour for visual interest.
- Shape Harmony: Ensure different shapes nestle together comfortably or have enough space to breathe.

4. Mind the Metal (Usually!)
While we're focusing on glorious gold plated rings, understanding metal coordination helps create cohesive looks:
- Cohesive Gold: Sticking mainly to gold plate creates a rich, cohesive, and intentional look that feels luxurious.
- Intentional Mixing: If you do want to mix with silver or rose gold, do it thoughtfully. Perhaps one silver band amongst several gold, or stack different metals on different fingers rather than cramming them all onto one.
5. Balance is Key: Consider the Whole Hand
Think beyond just one finger when creating your overall look:
- Avoid loading up every single finger heavily – it can look overwhelming and feel uncomfortable
- Distribute your stacks across a couple of fingers on one hand, or maybe one statement stack on one hand and a simpler ring on the other
- Step back and see if the overall look feels balanced and comfortable for you
Care Note: Stacking beautifully means rings sit closely together. Remember that constant friction between rings can increase wear on plated finishes over time. Following good care practices, like removing rings before applying lotions or washing hands, really helps keep your stack sparkling longer.
How to Build Your Gold Plated Ring Stack: A Practical Approach
Let's get stacking! Here's a simple, step-by-step method to create your perfect ring combination:
-
Step 1: Choose Your Canvas (Which Fingers?). Decide where you want to focus your stack(s). Popular choices include:
- The ring finger (classic and elegant)
- The middle finger (offers a central focal point)
- The pointer finger (a confident placement)
- Don't forget thumbs and pinkies for adding subtle accents!
- You can stack on one, two, or even three fingers per hand – find what feels comfortable
- Consider midi rings – delicate rings worn above the main knuckle – for added dimension later
-
Step 2: Start with an Anchor Ring. Choose the main ring for your primary stack. This could be:
- A simple, medium-width band
- Your favourite gemstone ring
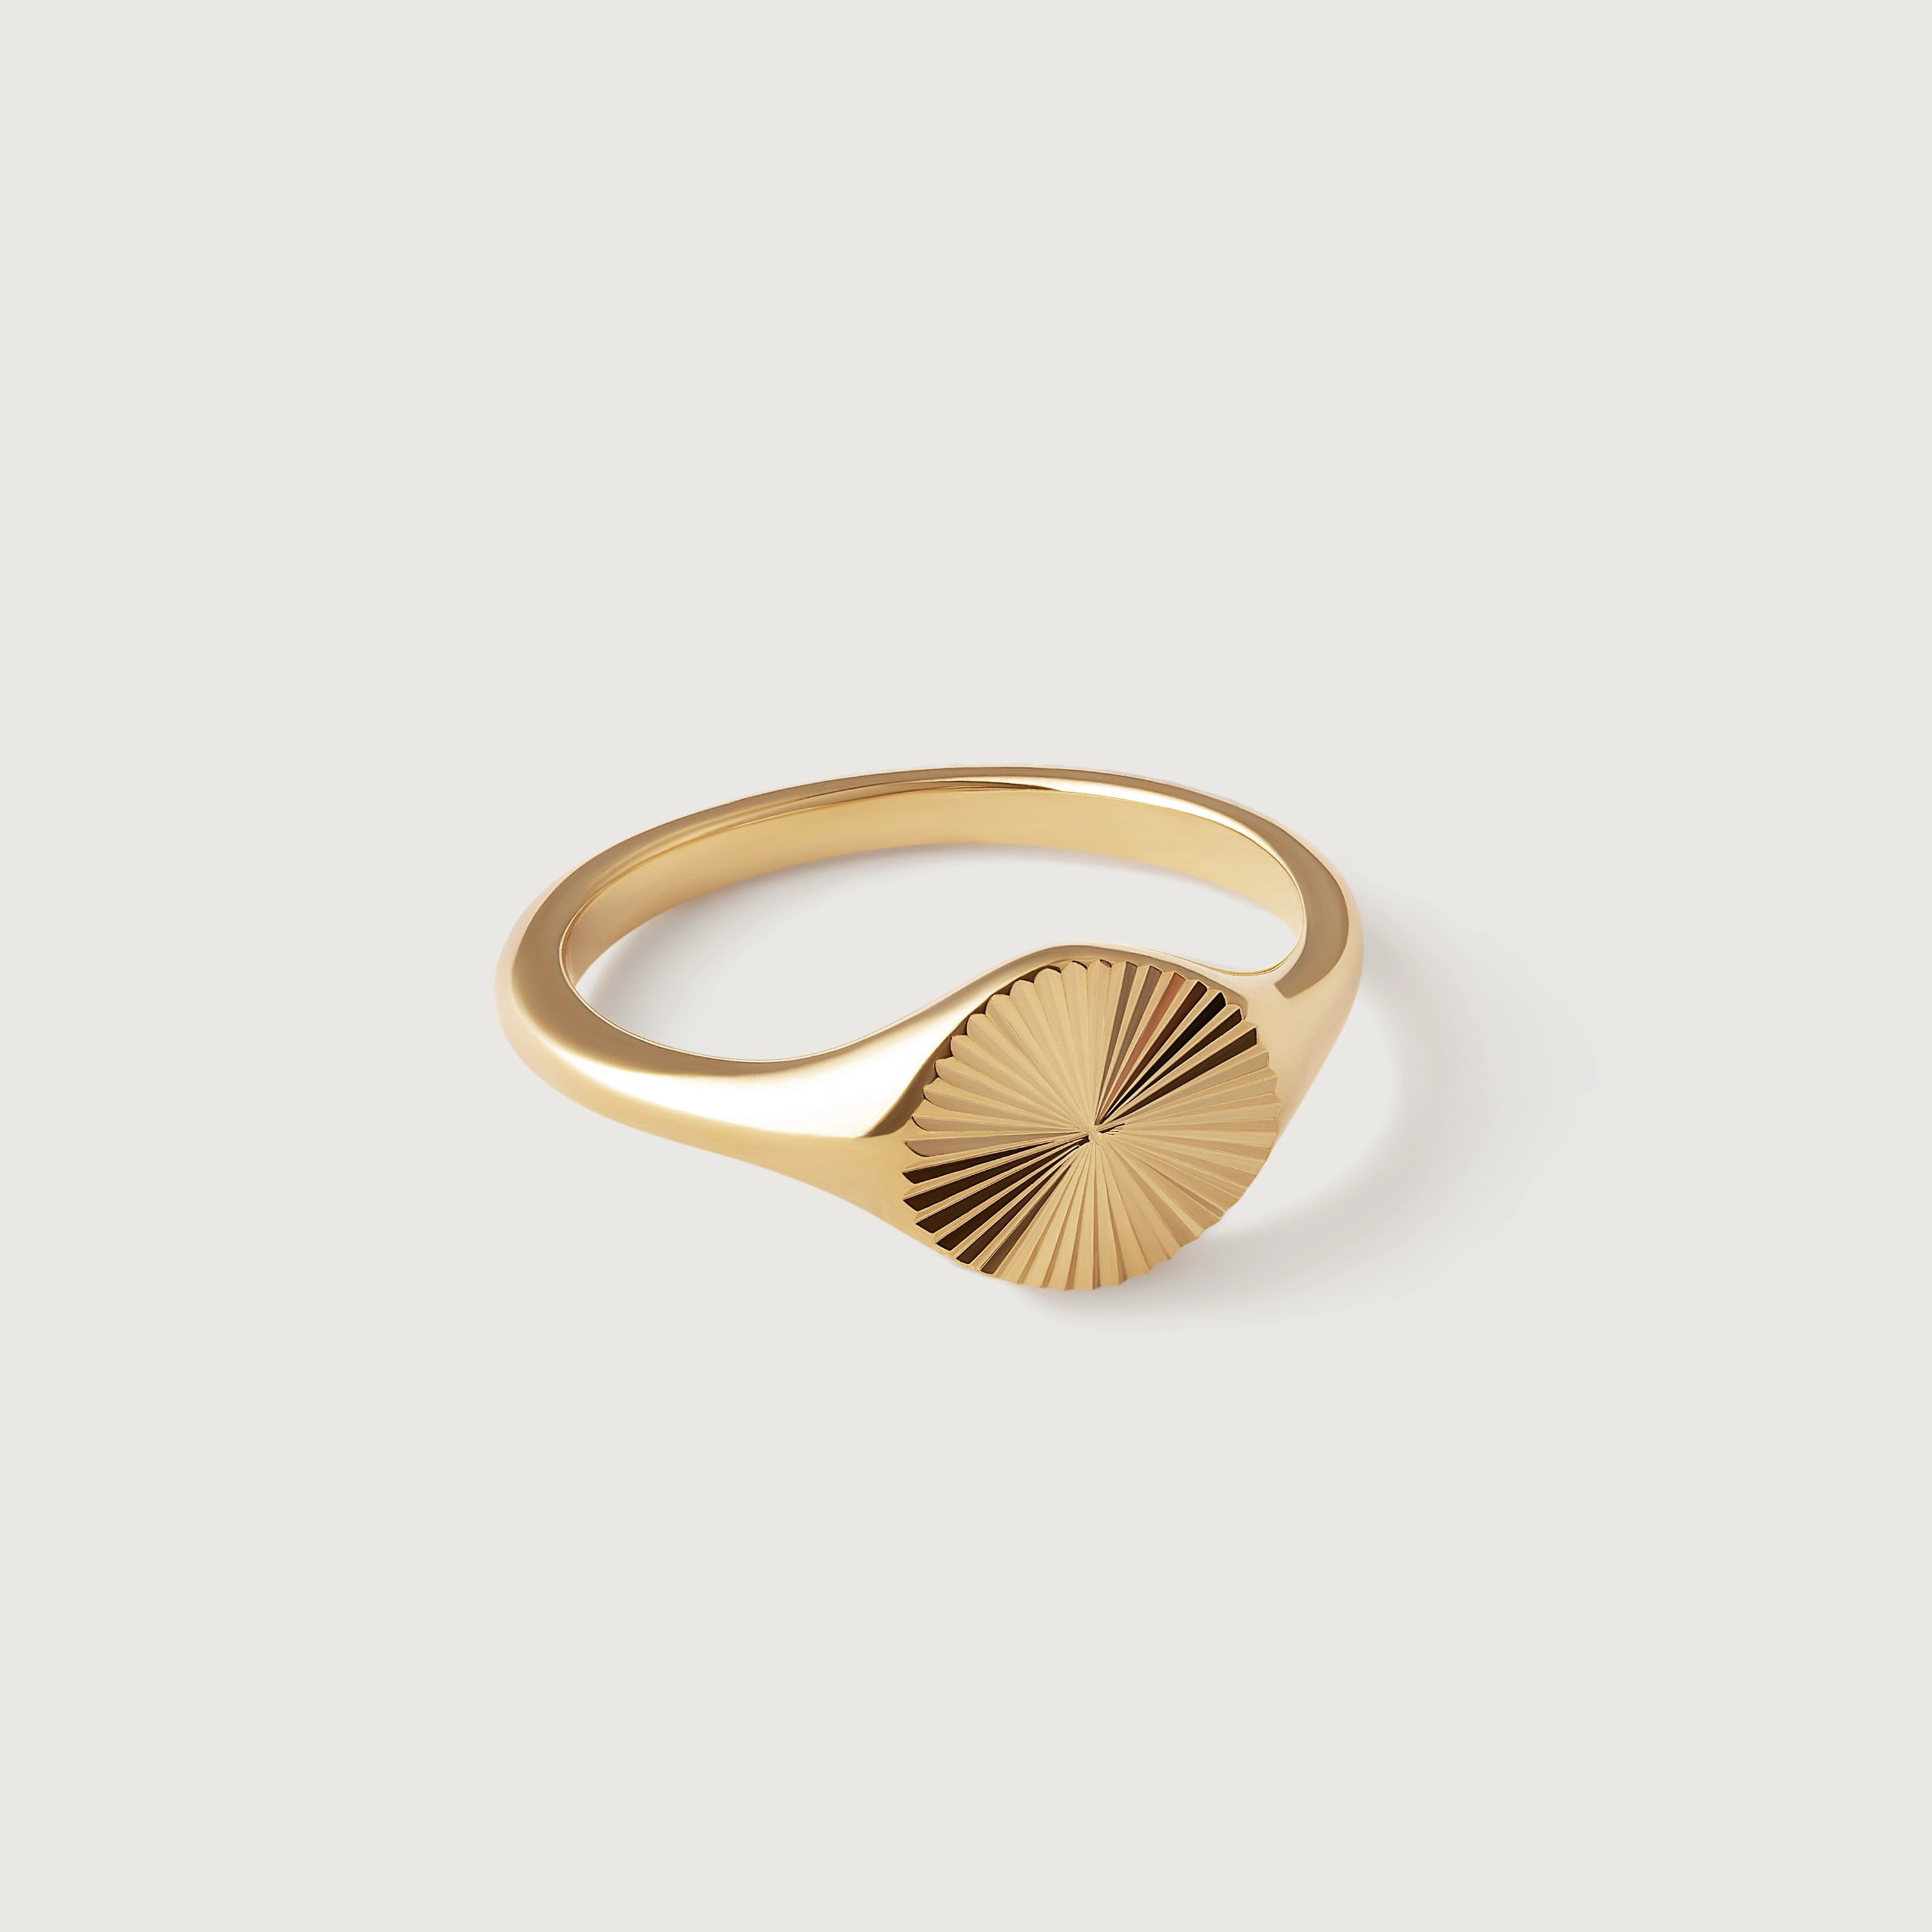
- A cool signet ring
- Place this ring first on your chosen finger
-
Step 3: Add Complementary Bands. Now, layer rings above and/or below your anchor ring. This is where you play with those textures and widths!
- Add a twisted or beaded band next to a smooth one
- Place a very thin, dainty band next to your slightly wider anchor ring
- Aim for 2-4 rings initially on your main stacking finger
-
Step 4: Consider a Midi Ring (Optional). If you like the look, add a simple, delicate midi ring above the knuckle on the same finger or an adjacent one.
-
Step 5: Step Back & Assess. Look at your hand. How does the gold ring stack feel? Is it comfortable to move your fingers? Does it look balanced? Is anything too tight? Don't be afraid to swap rings, remove one, or add another until it feels just right. This is your personal curation!
Ring Stacking Inspiration: Styles to Spark Your Creativity
Need some ideas to get you started? Here are some popular stacking styles achievable with Kaleya Studio gold plated rings:
Style 1: The Delicate Stack
Perfect for minimalists. Think multiple ultra-thin, simple gold plated bands, maybe with tiny textures like a hammered finish or a slight twist. Spread them elegantly across two or three fingers for a subtle shimmer that catches light beautifully.
Style 2: The Statement Stack

Focus the drama on one finger. Start with a bolder central ring – a striking gemstone or a cool signet – and flank it with coordinating medium-width bands with interesting textures. Build height and impact while maintaining comfort.
Style 3: The Colour Pop Stack
Ideal for adding personality and seasonal flair! Intersperse classic gold bands with one or two rings featuring vibrant coloured gemstones or enamel details. Keep the stone sizes relatively modest for balance and wearability.
Style 4: The Mixed Texture Stack
A tactile delight! Combine highly contrasting textures on one or two fingers – think hammered next to polished, beaded next to twisted. This creates a rich, interesting look even without stones, relying purely on the interplay of surfaces.
Style 5: The Signet & Friends Stack

Embrace the classic cool of a signet ring. Wear it solo for understated elegance or pair it with slender, simple bands on the same finger or adjacent fingers like the pinky or ring finger for a balanced, sophisticated look.
Ring Stacking Dos and Don'ts: Quick Tips
Keep these essential guidelines in mind as you perfect your stacking technique:
- DO: Experiment and have fun – it's your style, so trust your instincts!
- DO: Mix textures and widths for visual interest and depth
- DO: Start simple with 2-3 rings per finger and build up gradually
- DO: Think about overall balance across your hand(s)
- DO: Ensure rings fit comfortably – not too tight, especially when stacked
- DON'T: Feel you have to load up every single finger – restraint can be powerful
- DON'T: Wear rings so tight they bulge or are hard to remove (bad for comfort and plating!)
- DON'T: Forget proportions – pair rings that feel balanced together scale-wise
- DON'T: Be afraid to leave some fingers bare for breathing room
Remember: The best ring stack is one that feels authentically you. Trust your instincts, play with combinations, and don't be afraid to break conventional rules if something feels right.
Your Hand, Your Story
Creating the perfect ring stack is all about personal expression. It's a chance to curate a collection that reflects your mood, your style, and your story, right at your fingertips. With the beauty and accessibility of gold plated rings, you can easily experiment and build stacks you truly love.
So go ahead, play around, mix, match, and have fun creating your signature look! Whether you prefer the subtle sophistication of delicate bands or the bold impact of statement pieces, there's a stacking style that's perfectly you.
Ready to start your stacking journey?
Explore our complete collection of gold plated rings designed for beautiful stacking combinations. From delicate bands to statement pieces, find the rings that speak to your personal style.